
Introduction
After you have deployed sensitivity labels and DLP policies, the next question is always the same: how do I know it is actually working? Microsoft Purview gives you two tools to answer that question. Content Explorer shows you where sensitive data lives across your entire Microsoft 365 estate. Activity Explorer shows you what users are doing with that data.
Together they give you complete visibility into your data landscape and your compliance posture. You need the Content Explorer List and Activity Explorer roles assigned through Purview permissions. If you followed the first-day setup guide, you likely already have these.
Content Explorer: Seeing Every Sensitive File You Have
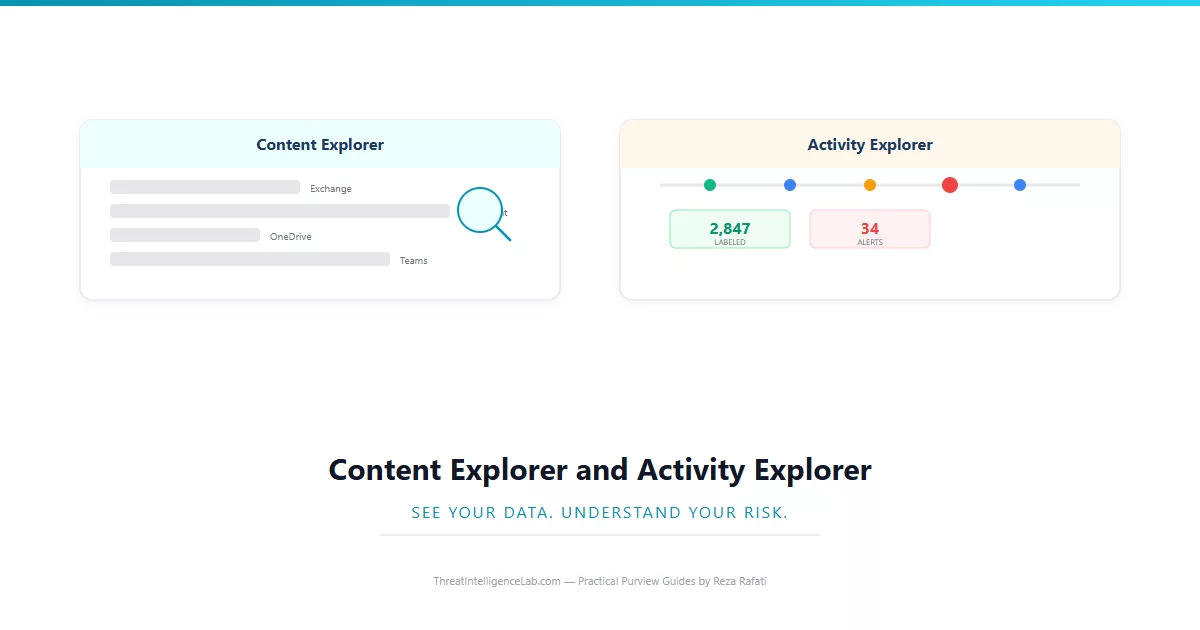
Content Explorer lives under Data classification in the Purview compliance portal. When you open it, you see a breakdown of your entire organization’s data organized by location – Exchange, SharePoint, OneDrive, and Teams – and by sensitivity label and sensitive information type.
The overview tab gives you aggregate counts: how many items have each label applied, how many contain each sensitive info type, and how those numbers trend over time. Click into any category and it drills down to individual files, showing the file name, location, last modifier, applied labels, and detected sensitive info types. This is how you answer “where is all our credit card data?” – drill into the credit card sensitive info type and immediately see every file across your estate.
A critical thing to understand is that Content Explorer is not real-time. It relies on the Microsoft 365 content scan, which typically refreshes every 7 days. Newly created files will not appear immediately. For real-time label application tracking, use Activity Explorer. If you also need to identify document types that pattern matching misses – like resumes or contracts – explore trainable classifiers which use machine learning for document recognition.
Activity Explorer: Tracking Every Label and Policy Action
Activity Explorer is the real-time companion to Content Explorer. Go to Data classification and select Activity explorer. The default view shows the last 30 days of activity. You can filter by activity type – label applied, label changed, label removed, DLP policy match, DLP policy override, file read with a label, file printed, file copied to external media, and many more.
The filters are what make Activity Explorer useful. If you are investigating a specific user, filter by user and see everything they have touched. If you are tracking how a new label is being adopted, filter by that label. If you want to verify that a DLP policy is catching the right things, filter by the policy and review recent matches.
Activity Explorer retains data for 30 days by default. For longer retention, export data or configure the audit log to stream to Azure Sentinel or a SIEM. The raw data behind Activity Explorer is the Microsoft 365 unified audit log. If you need to go back further than 30 days, use the audit log search directly, which can retain data for up to one year depending on licensing.
Practical Use Cases That Make These Tools Indispensable
Auditing a departing employee’s activity. When someone resigns, go to Activity Explorer, filter by that user, set the date range to their last two weeks, and review every action. Look for bulk downloads, label removals, external forwarding, and file copies to USB. Combine this with the Insider Risk Management departing users template for automated monitoring alongside manual review.
Checking label adoption after a rollout. You published a new Confidential label last month. In Content Explorer, filter by the label to see how many items have it applied. In Activity Explorer, filter by label application events to see the trend. If adoption is low, revisit your label publishing strategy.
Finding exposed sensitive data that should be protected. In Content Explorer, select a sensitive info type like credit card number and filter to show items without a sensitivity label applied. This is your unprotected sensitive data. Create an auto-labeling policy to handle them programmatically, or use trainable classifiers for unstructured documents.
Validating a DLP policy before enforcement. While a DLP policy is in simulation mode, go to Activity Explorer and filter by DLP policy matches for that specific policy. Review the matches to see what the policy is catching. If there are too many false positives, refine your detection rules. If results look correct, you have evidence to support enforcement. Once everything is running, use the monitoring dashboards to track trends across all your compliance tools from a single view.

Leave a Reply
You must be logged in to post a comment.