

Introduction
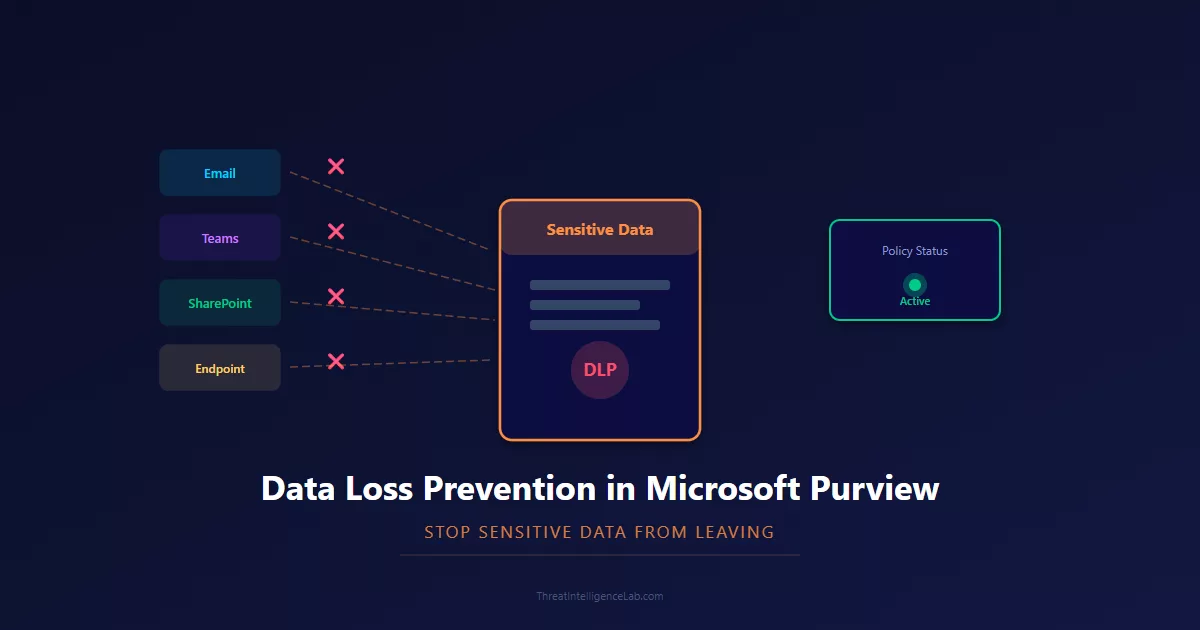
Data Loss Prevention — DLP for short — is how Microsoft Purview stops sensitive information from leaving your organization through channels you already use every day: email, Teams chats, SharePoint sites, and endpoint devices. A well-tuned DLP policy catches someone trying to email a spreadsheet full of credit card numbers to their personal Gmail, blocks a Teams message containing a passport scan, or prevents copying a customer list to a USB drive. This guide walks you through setting up your first DLP policy from the built-in templates, running it safely in simulation mode, and tuning it until you are confident enough to enforce it.
Before you begin, you need one of these roles: Compliance Data Administrator, Compliance Administrator, or Information Protection Analyst. DLP policies are licensed through Microsoft 365 E3 or E5, or the Compliance add-on. If your organization has E3, you get core DLP for Exchange, SharePoint, and OneDrive. E5 adds endpoint DLP and Teams DLP. Check your licensing before scoping policies to these locations.
Starting with Built-In Templates Instead of Blank Policies
The fastest way to create a useful DLP policy is to use Microsoft’s built-in templates rather than building from scratch. Go to the Purview compliance portal, expand Data loss prevention, and click Policies. Click Create policy. You are presented with categories: Financial, Medical and health, Privacy, and Custom. Microsoft maintains over 40 pre-built templates that detect specific regulations and data types — GDPR, HIPAA, PCI-DSS, U.S. PII, U.K. financial data, and country-specific templates for Australia, Canada, Japan, and others. These templates are already configured with the correct sensitive information types, detection thresholds, and recommended actions. For your first policy, pick the template that matches your most critical compliance need. If your organization handles payment card data, choose PCI Data Security Standard (PCI-DSS). If you are in healthcare, choose U.S. Health Insurance Act (HIPAA). If you simply want to catch broadly sensitive data, Personally Identifiable Information (PII) Data is a good starting point.
After selecting the template, you can customize it before creating the policy. The template gives you a head start — detection rules are already built — but you can modify locations, add or remove sensitive info types, and change the actions taken when a match occurs. Think of templates as a tested baseline, not a locked configuration.
Choosing Locations and Scoping Your Policy Correctly
The locations page in the wizard asks where you want the DLP policy to apply. Your options are Exchange email, SharePoint sites, OneDrive accounts, Teams chat and channel messages, Devices (endpoint DLP), and Power BI. For your first policy, select Exchange, SharePoint, and OneDrive. These are the most common exit points for sensitive data and the easiest to test. Teams DLP requires E5 licensing and can generate noise from casual conversations — hold off on that until your first policy is stable. Endpoint DLP requires onboarding devices through Microsoft Defender for Endpoint and is more complex to configure.
Within each location, you can scope to specific inclusions and exclusions. For Exchange, you can target all mailboxes, specific distribution groups, or individual users. For SharePoint, you can target all sites or specific site collections by URL. For OneDrive, you can target all users or specific users and groups. When testing a new policy, scope it to a pilot group first — your IT team or a small department — rather than your entire organization. This contains any unexpected impact and gives you real-world data without affecting everyone. You can expand the scope after the policy is validated.
Configuring Detection Rules and Thresholds
The detection rules determine what triggers the DLP policy. The wizard shows you the rules included in your template, and you can add more. Each rule specifies a condition based on sensitive information types. For example, a rule might be “Content contains at least 1 credit card number” or “Content contains any of these 5 sensitive info types.” You can chain conditions with AND logic — requiring a document to contain both a credit card number and a social security number before the policy triggers — which reduces false positives significantly compared to single-condition rules. For each sensitive info type, you can set a minimum count. If someone emails a single credit card number, is that enough to trigger? Or should the threshold be 5 or 10? Higher counts reduce false positives but may miss real incidents where a single piece of sensitive data is exposed. Start with moderate thresholds — 1 to 5 instances — and adjust based on what you see during simulation.
You also set the policy tip and notification settings. A policy tip is the message users see in Outlook or SharePoint when they are about to violate the policy — something like “This email contains a credit card number. Sending it externally is against company policy.” Policy tips are your first line of defense because they educate users in real time. You can customize the tip text to include links to your data handling policy or a contact for questions. For email notifications, you can configure alerts to go to administrators, the user who triggered the policy, or the manager of the data owner. Over-notifying can cause alert fatigue, so start with admin-only notifications and add user notifications only where the risk justifies it.
Why Simulation Mode Is Non-Negotiable for Your First Policy
Near the end of the wizard, you are asked whether to turn the policy on immediately, test it first, or keep it disabled. Choose test it first. This is simulation mode. It runs your policy against real traffic but does not block anything and does not show policy tips to users. Instead, it logs every match to the DLP reports so you can review what would have been caught. This is not optional — it is the most important quality gate in your DLP deployment. Skipping simulation means you discover false positives when real users cannot send legitimate email, which creates frustration and erodes trust in the compliance program.
Let simulation run for at least 3 to 5 business days. This captures a full work cycle and gives you enough data to identify patterns. During this period, go to Data loss prevention and click Activity explorer. You will see every match the policy would have triggered, with details about the user, location, sensitive info type detected, and the count of instances. Look for false positives — these often come from things like internal testing documents that contain sample credit card numbers, automated system emails that include GUID patterns mistaken for financial data, or legal documents that reference passport numbers in template text. Each false positive teaches you how to refine your detection rules. You can add exception conditions to your rules — excluding specific users, groups, domains, or IP ranges — to prevent known false positives from generating alerts.
From Simulation to Enforcement Without Breaking Anything
After a week of clean simulation results, you are ready to enforce the policy. Go back to the policy, open it, and change the status from Test it first to Turn it on immediately. Save the policy. Within minutes, it begins actively blocking or restricting data transfers that violate your rules. But do not walk away yet — the first 24 hours of enforcement are when unexpected issues surface. Monitor the Activity explorer closely. If you see an unusual spike in policy matches, investigate immediately. It could be a legitimate business process that was not captured during simulation, like a monthly financial report that gets emailed externally.
When a policy blocks something legitimate, you have several mitigation options. You can add an exception for the specific user or group. You can add an exception for the specific recipient domain. You can create an override rule that allows the action if the user provides a business justification. Override rules are powerful because they preserve the policy for everyone else while giving specific people a controlled bypass — and every override is logged for audit. The policy tip setting here is important: when you allow overrides, include a clear message that reminds the user their justification will be recorded and reviewed. This encourages thoughtful overrides rather than casual bypasses.
DLP policies are not set-and-forget. Set a recurring reminder to review policy matches monthly. Look for new sensitive information types that should be added. Review false positive rates and adjust thresholds. As your organization adopts new tools and workflows, DLP policies need to evolve alongside them.
Leave a Reply
You must be logged in to post a comment.