

Introduction
eDiscovery is the part of Microsoft Purview that handles legal and investigative searches across your organization’s data. When HR needs to investigate a departing employee’s communications, when legal needs to preserve documents for litigation, or when an auditor requests specific records, eDiscovery is the tool that makes it possible.
It lets you identify relevant data across Exchange mailboxes, SharePoint sites, OneDrive accounts, and Teams conversations, place legal holds so data cannot be deleted, and export everything in a defensible format. This guide walks you through the full workflow from request to delivery.
Microsoft Purview offers two tiers: Content Search for ad-hoc searches without case management, and eDiscovery (Standard) for full legal workflows with holds and exports. eDiscovery (Premium) adds custodian management, advanced processing, and predictive coding. This guide focuses on Standard. You need the eDiscovery Manager role – if permissions are not set up, refer to the first-day setup guide. For simpler investigations that do not require legal holds, the audit log search is often faster.
Creating Your First eDiscovery Case and Adding Custodians
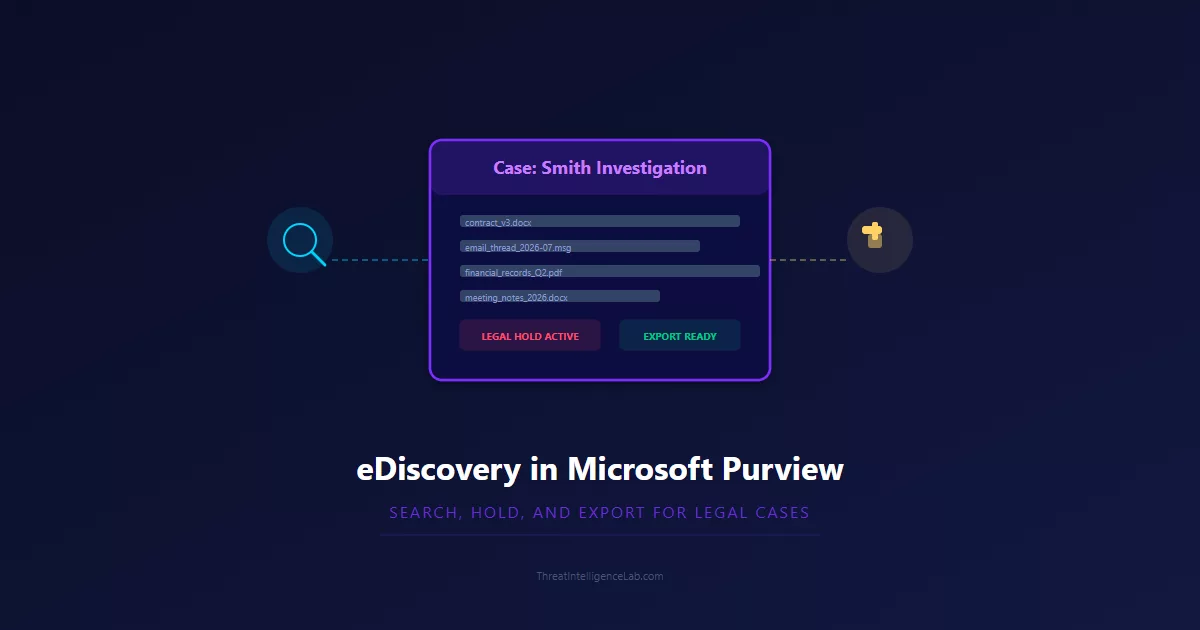
Go to eDiscovery and select Standard. Click Create a case. Give it a name that makes sense to stakeholders – use the legal matter name or investigation reference. The case opens with tabs for Searches, Holds, and Exports.
Before running a search, define whose data to look through. Go to the Data sources tab and click Add data sources. For each custodian, add their Exchange mailbox and OneDrive account. If they are part of specific SharePoint sites or Teams channels relevant to the case, add those too. The data source list becomes the scope for every search and hold in this case.
Running Searches and Exporting Results
With data sources defined, go to the Searches tab. The search query builder supports keywords, date ranges, sender and recipient filters, and specific file types. For a simple investigation, a keyword search like “contract AND termination” across all data sources is often enough.
Search statistics appear after the query runs, showing estimated item counts per location without revealing content. This lets you refine your query iteratively. A search returning 100,000 items is too broad. Adjust keywords until you are in the range of a few thousand items a human can actually review.
When results look relevant, click Export results. Choose to export indexed items or include partially indexed items. Select the format – one PST per mailbox for email, individual files for SharePoint and OneDrive, and a CSV load file mapping each item to its metadata. Download links expire after 14 days. Use the encryption option for sensitive investigations. If the case also involves communication patterns that need monitoring, Communication Compliance can flag policy-violating messages in real time alongside your eDiscovery investigation.
Managing and Releasing Legal Holds Without Losing Data
Holds are the most consequential part of eDiscovery because they prevent data destruction. Go to the Holds tab, click Create, name the hold, and select the data sources. A hold preserves all data from the moment it is applied – users can still edit and delete items, but originals are retained in a hidden preservation library.
When a case is fully resolved and there is no further legal obligation, release the hold. Releasing does not delete data – it stops preservation, meaning data follows normal retention policies from that point. Users whose data was on hold may notice old items reappearing and deletions processing – communicate this to custodians to avoid confusion.
For large organizations with many concurrent legal matters, maintain a central register of all active holds outside of Purview. There is no built-in dashboard showing all holds across all cases. This register becomes your audit record when legal asks “what data is currently under preservation across the organization?”
Leave a Reply
You must be logged in to post a comment.